We’ve received some follow-up information related to a couple of stories we published – one recently and the other going back about 10 years ago.
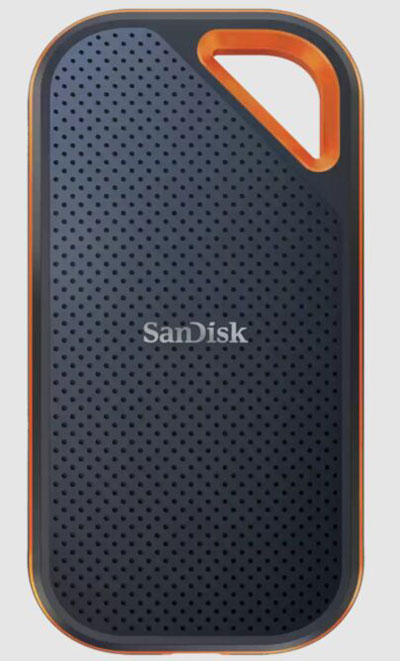
The first was from a data recovery software business called Secure Data Recovery, responding to our story on the regrettable tendency of SanDisk Extreme Pro external SSDs to suddenly and catastrophically lose data: https://www.insideimaging.com.au/2023/sandisk-ssds-sans-data/
Now of course Surecure Recovery has a vested interest in promoting its recovery software, but nonetheless its PR agency took the time and trouble to, as they say these days, ‘reach out’ to us (twice!) regarding its software fix. We haven’t a clue whether it works or not, so this is by no means an endorsement, but we might see if it can do a Lazarus on our own failed SSD (not a SanDisk unit) which has otherwise been diagnosed as a Dodo-like.
Here is what the Secure Recovery people had to say:
In the past few months, users with 2 TB and 4 TB SanDisk Extreme and SanDisk Extreme Pro Portable SSDs have reported sudden data loss. The problem with the solid-state drives seems limited to units released in 2023. The 4 TB external SSDs are the most affected model.
From the cases we’ve seen, the firmware bug appears to scramble allocation metadata. Without allocation metadata, the device cannot manage the distribution of data between storage cells. As a result, files start to disappear, forcing some users to consider data recovery options.
How To Recover SanDisk Extreme Portable SSD on Your Own:
Western Digital announced a firmware update is coming for the SanDisk Extreme Portable SSD and SanDisk Extreme Pro Portable SSD, but there are options for those that need immediate assistance.
Our proprietary data recovery software successfully restores most of the files.
Follow these steps to retrieve data with SecureRecovery:
1) Download the SecureRecovery software (free)
2) Select the location containing lost data. That is C: drive for most users.
3) Select Quick File Search or Full Scan.
4) Choose the relevant file or folder.
5) Continue with the relevant subfolder if applicable.
6) Select the file from the list on the right.
7) Click … to select the output folder for recoverable files. That is the E: drive for most users.
8) Click Recover in the bottom-right corner of the window. A status update will appear if successful.
9) Click Finish in the bottom-right corner of the window.The software detects traces of scrambled metadata and file indexes. Once located, it pieces the information together and retrieves the data.
Sometimes the parent folder structure is lost in the process. However, the files inside them are unaffected. Most subfolders remain intact. Recovered files from missing directories are assigned to a Lost and Found folder.
In our experience, the software has delivered full or near-complete recoveries.
The solution is free to download to scan the disk. If the software fixes the issue, users may recover files less than 256kb in size for free. To recover files larger than 256kb, they will be required to purchase a license for $79.99.
If significant corruption exists and the software does not detect the scrambled data, Secure Data Recovery’s engineers can help with SanDisk data recovery by using more advanced tools and techniques to reconstruct the files.
Shadowy passport pics
The other subject a reader has written to us about is passport photos – specifically eliminating shadows in passports. It seems that biometric systems are particularly fussy when it comes to shadows. Given the increasing standardisation and – big, invented word coming – biometrification of passport photography around the world, the alert is more than likely applicable to Australian passport pics as well, and certainly in the US :
In ensuring a clear photo, the presence of shadows deserves careful consideration, as they can distort appearances and lead to complications during identification. As no amount of shadows are allowed in passport photos due to the unclarity of the image and the fact that not everyone is aware of it, it would be helpful if you could make this part of the text clickable: https://www.insideimaging.com.au/2012/spot-checks-on-passport-pics-in-nz/
When it comes to passport photos, attention to detail is crucial, from proper lighting to facial expressions. Therefore, I hope this addition will be considered so that passport photos will meet the required standards and reduce the chances of rejection in the application process.


Be First to Comment